
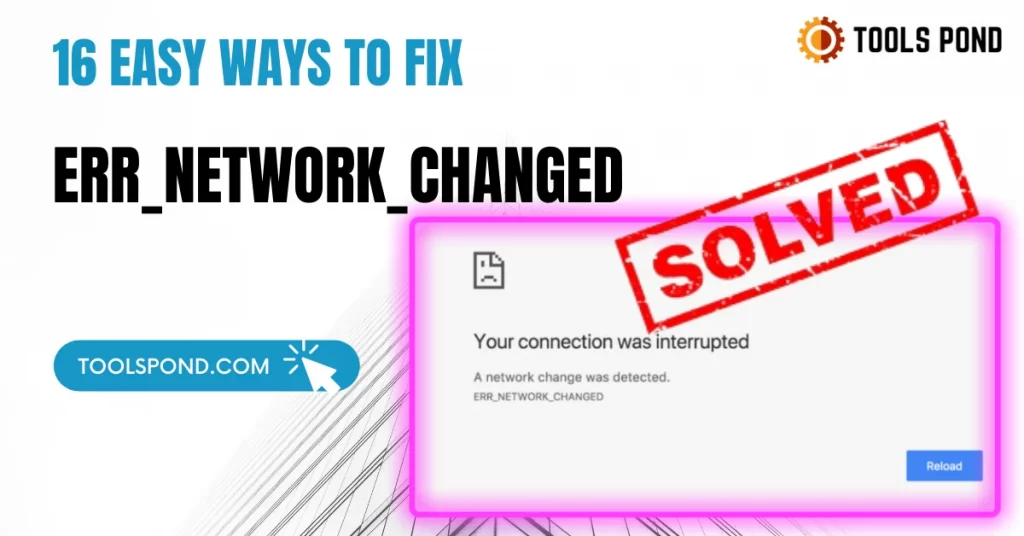
Lately, we have been facing issues with the interruption in the network leading to ERR_NETWORK_CHANGED. So I have come up with this article to solve the problem with the 16 most straightforward and most accessible ways.
If you have the same error message when trying to access your internet browser, it means that the browser cannot connect to the network. The message also states that the internet browser cannot access the network. There are various ways to fix the ERR_NETWORK_CHANGED issue, so try different methods. The most common problem that prevents Windows 10 users from accessing the web is Explorer. It is commonly due to the incorrect Domain Name System (DNS) settings.
Various factors such as virus infection, outdated drivers, or a configuration issue can cause this issue. However, there are multiple ways to resolve this issue.
Contents
What does ERR_NETWORK_CHANGED mean?

The ERR_NETWORK_CHANGED error prevents a website from loading properly. This issue usually occurs when the internet connection is not working correctly. Generally, this error prevents a user from accessing a webpage.
The error can be presented as “Unable to access the network” or a message that says that ” Your connection was interrupted”. This error is a recurring issue that affects many websites such as Facebook and YouTube.
What causes this error?
Usually, people use a VPN to change their IP address. This method of accessing restricted websites allows them to browse them without being redirected, leading to hindrance in the network connection of your PCs.
Due to the increasing popularity of these services, many people are resorting to using them to gain access to restricted websites. This could be the reason why they are experiencing this error.
How to Fix ERR_NETWORK_CHANGED in Windows 10
Below are some simple and easy 16 methods that will help you fix the ERR_NETWORK_CHANGED error on your desktop.
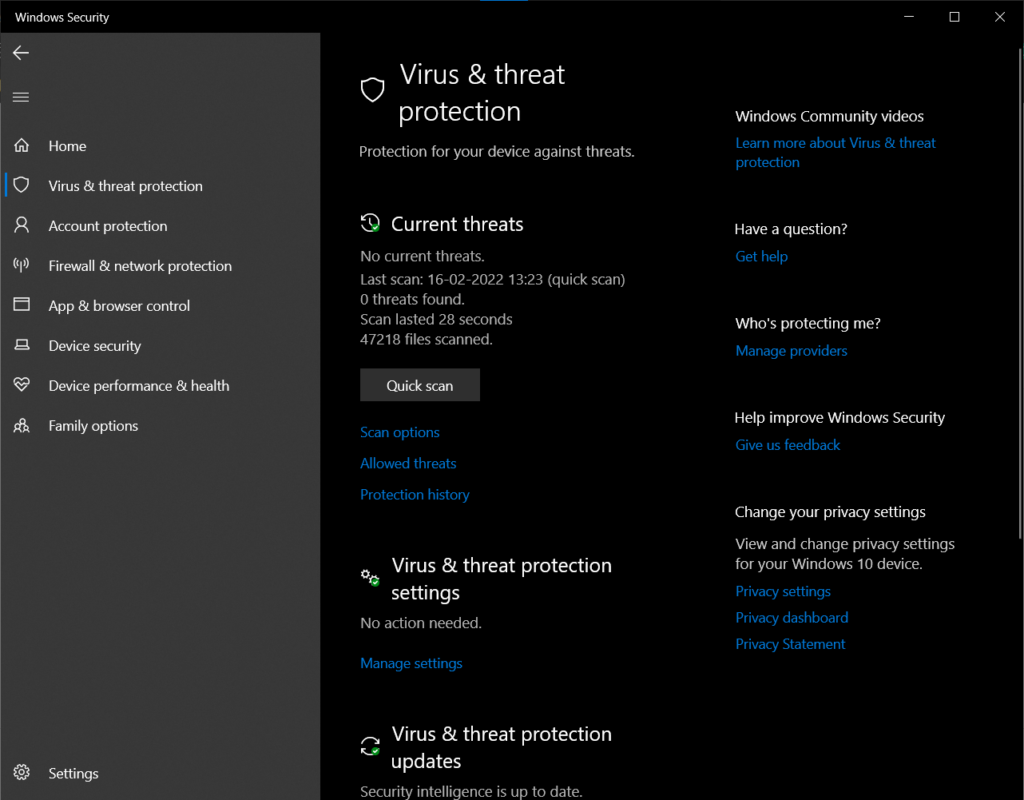
1. Check for any Ransomware on your machine
If the issue persists, the browser may be infected with a virus. To prevent this, you should use an in-built security app from Microsoft, Windows Security. This will help prevent the issue from recurring.
Steps to check for any ransomware on your machine:
- Open up search bar and look up for Windows Security.
- Now, quickly go to Virus & threat protection.
- Finally, click on the Quick scan to start the inspection.
2. Reboot Your Modem / Re-establish Your Internet Connection
A bad Internet connection can cause such an error. You can try to find the source of the issue by searching the Internet link’s wire. If it’s not working, then you should connect the machine to a wireless network.
Often, restarting the modem can help solve the issue. It only takes a few minutes to get the network back to normal.

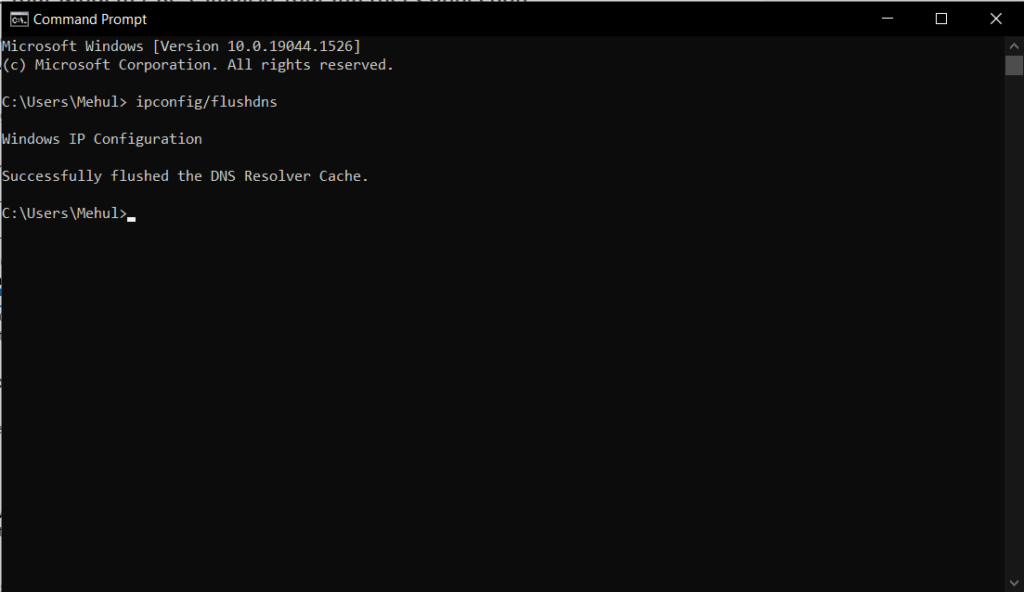
3. Flush the DNS Logs
To flush the DNS logs, you need to follow the steps mentioned below:
- Open up the Power user menu by pressing Windows Key + X.
- Select Command Prompt (Admin).
- Write ipconfig/flushdns in the command window and hit enter.
- Reboot your PC in safe/normal mode.
- Try refreshing the web page browser.
4. Try TCP/IP Reset
If the above step didn’t work for you, then follow the following steps:
- Follow the first two steps of the above method.
- Now, write the commands one individually and press enter (one-by-one): ipconfig/release, ipconfig/flushdns and ipconfig/renew.
- Now, open up the Command Prompt again and write the command: ipconfig/flushdns, nbtstat – r, netsh int ip reset, netsh winsock reset.
- Hit enter.
- Reboot your system and reload the browser page.
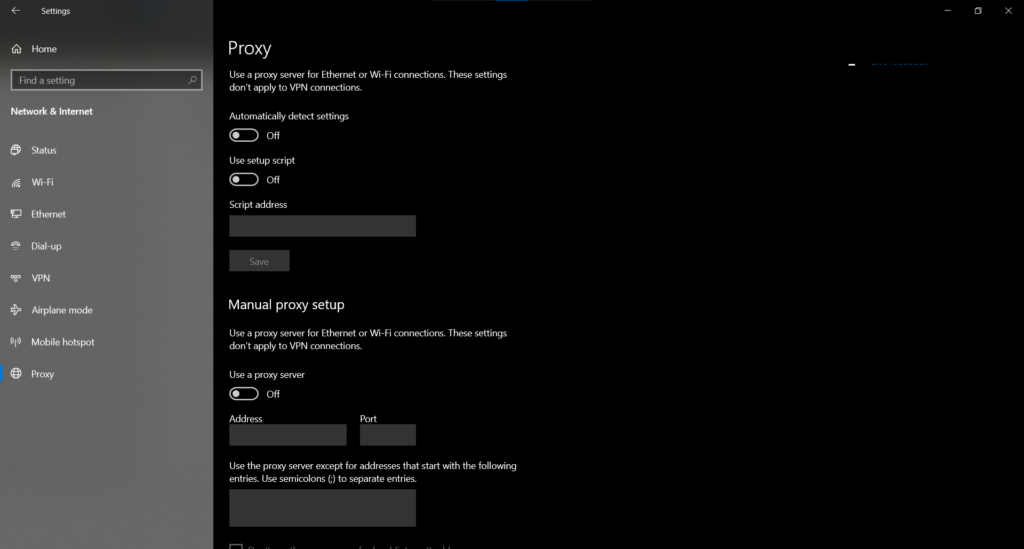
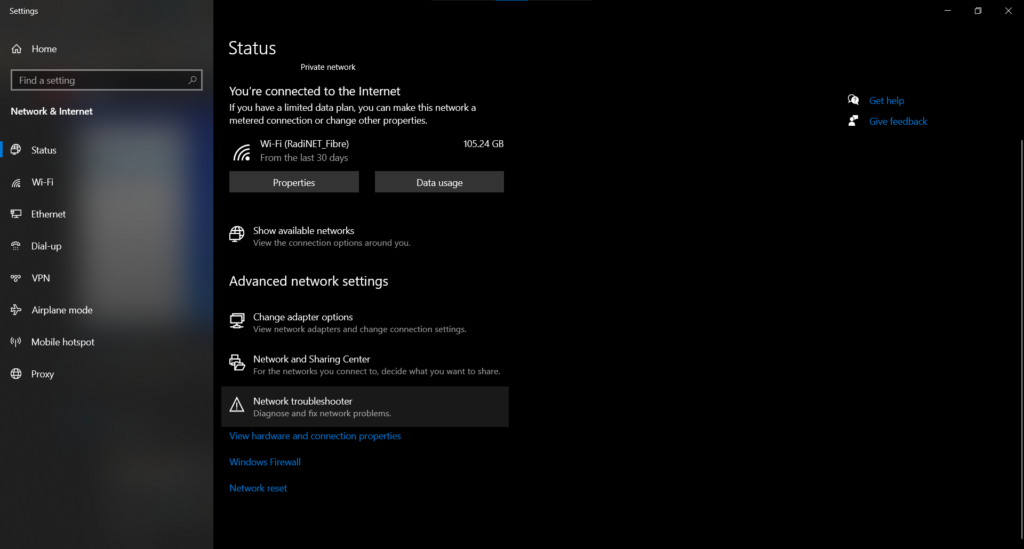
5. Change VPN Settings
Generally, VPNs are used to avert your internet links and can allow you to see some restricted data available on the internet. If you have established a high proxy VPN on your system, it is likely to cause some unwanted interruptions in your internet connection for sure. To prevent this from happening, you must check the below steps:
- Go to Start and open Settings.
- Select Network & Internet option.
- Look up for the Proxy tab.
- Ensure none of the options for proxy is on.
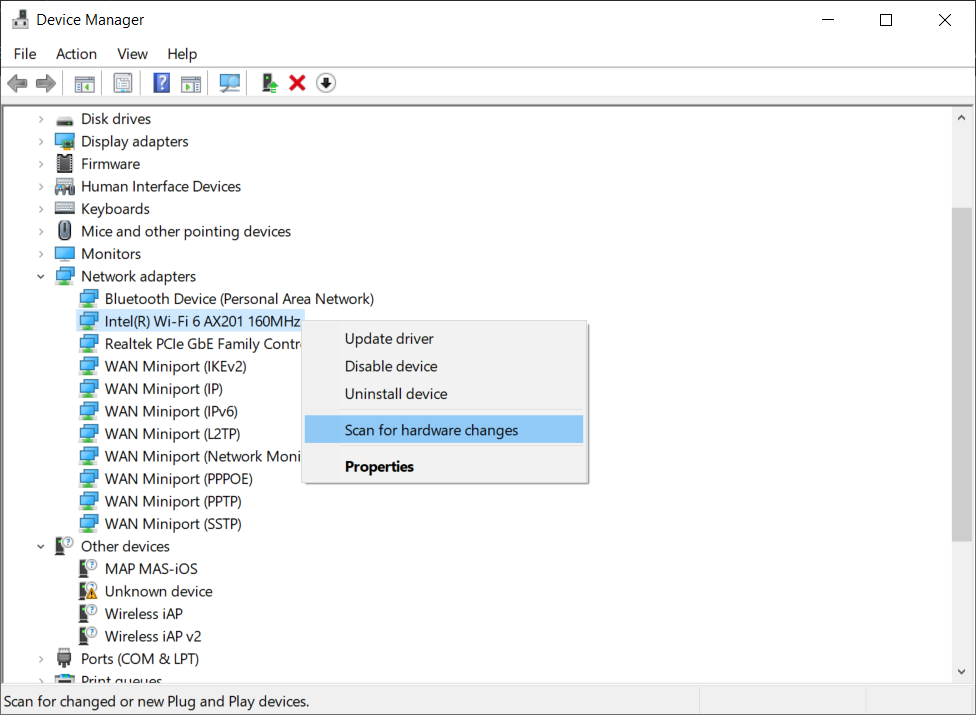
5. Update Network Adapter Drivers
Outdated network adapter driver can lead to ERR_NETWORK_CHANGED on your desktop.
Below are a few steps that can help keep all your network adapter drivers up-to-date:
- Go to Start and look up for Device Manager.
- Search for Network adapters.
- Try Updating, Disabling and Enabling your network adapter device.
- You may also run an optional Scan for hardware changes.
- Now again, reload your web page on the current browser.
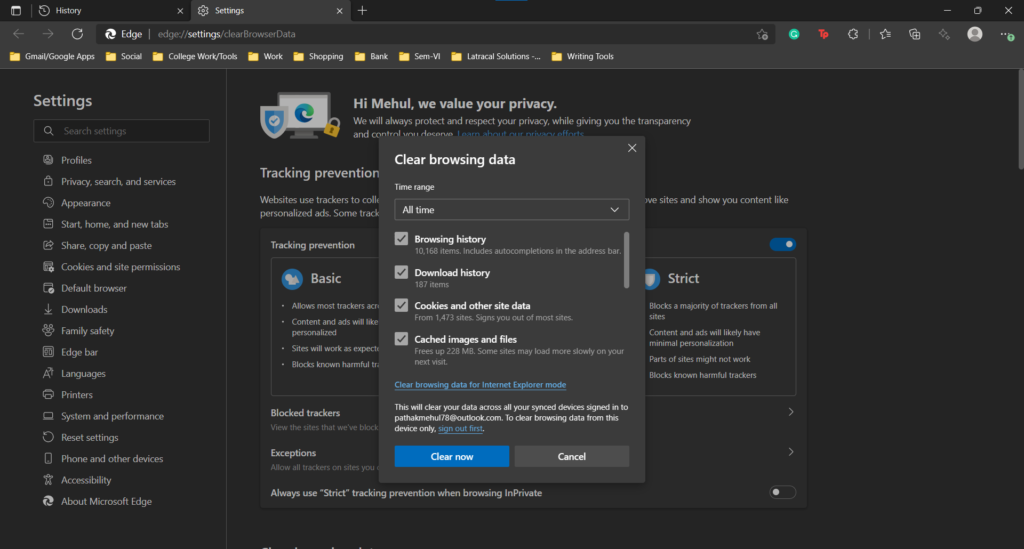
7. Clear Browser Data
Cookies, cached files, browsing data can also cause unexpected ERR_NETWORK_CHANGED errors in your PCs. Here are the steps to clear your complete browsing history along with the download history, cookies, plugin data, Site permissions, passwords, and other site data:
- Go to your current web browser’s History.
- Select Clear Browsing Data.
- Make sure to check-mark all the boxes and hit Clear Now.
- Re-open your web browser and start surfing the internet.
8. Run Network Troubleshoot
The Network Troubleshoot usually analyzes and resolves network issues.
- Go to Start and open Settings.
- Select Network & Internet option.
- Click on the Network Troubleshooter option

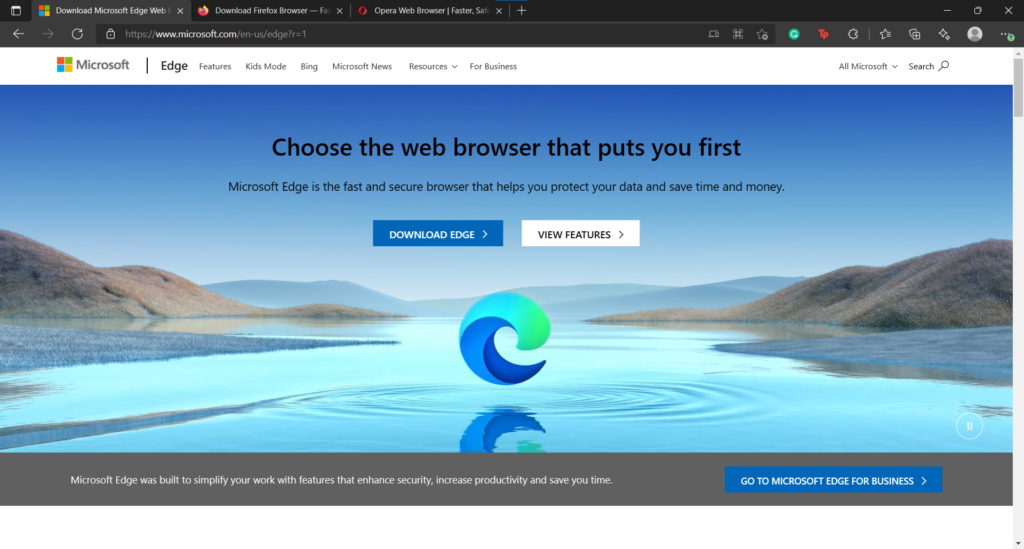
9. Try Switching Your Current Browser
Sometimes, switching your browser to the latest and safer one may help you eliminate the ERR_NETWORK_CHANGED error on your PC. I have listed out some of the best safer web browsers for hassle-free surfing:
- Microsoft Edge – Click Here to download
- Google Chrome – Click Here to download
- Mozilla Firefox – Click Here to download
- Opera Web Browser – Click Here to download
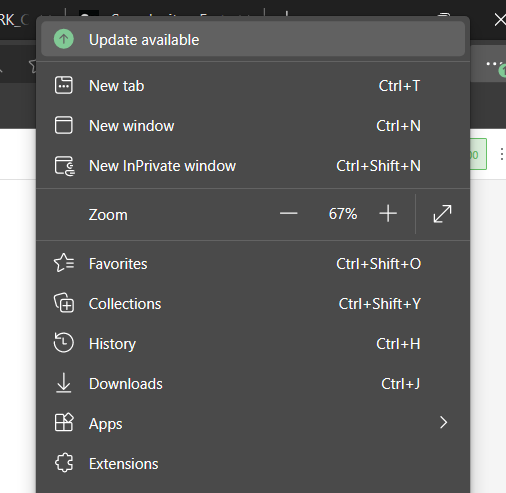
10. Keep Your Browser Up-To-Date
You should always make sure that the current browser you’re using is updated.
- Go to your browsers Settings.
- Look for any Update available option.
- Update and re-launch your browser.
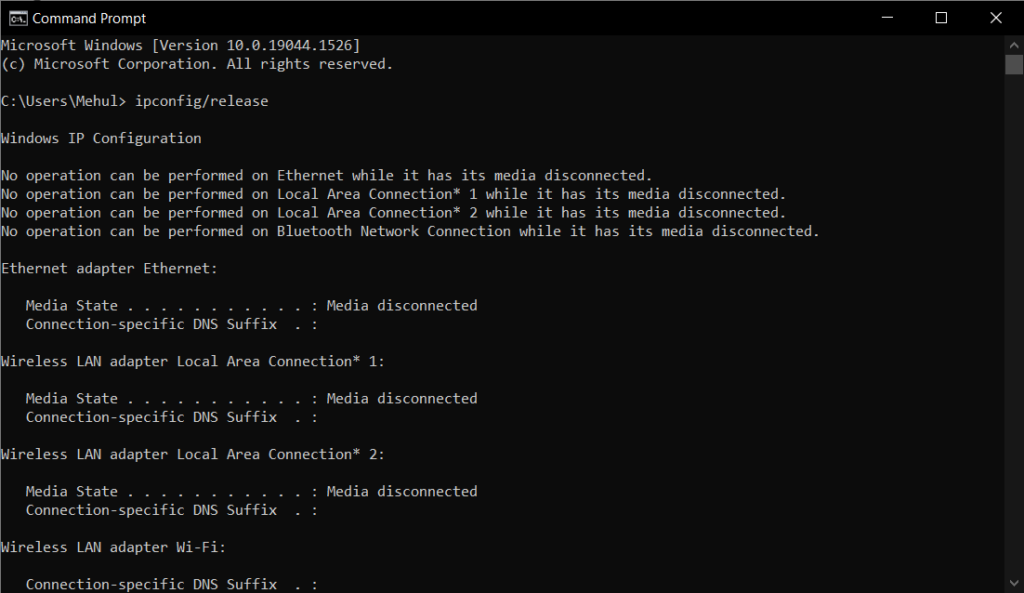
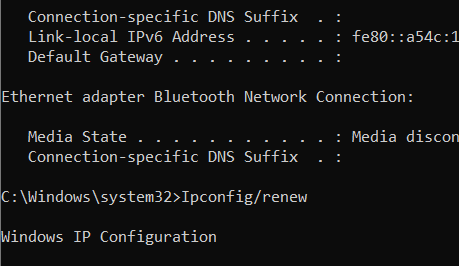
11. Reset IP Address
Resetting the IP address is a two-way method.
Release existing IP address –
- Open up the Power user menu by pressing Windows Key + X.
- Select Command Prompt (Admin).
- Type the following command and hit Enter:
ipconfig/release
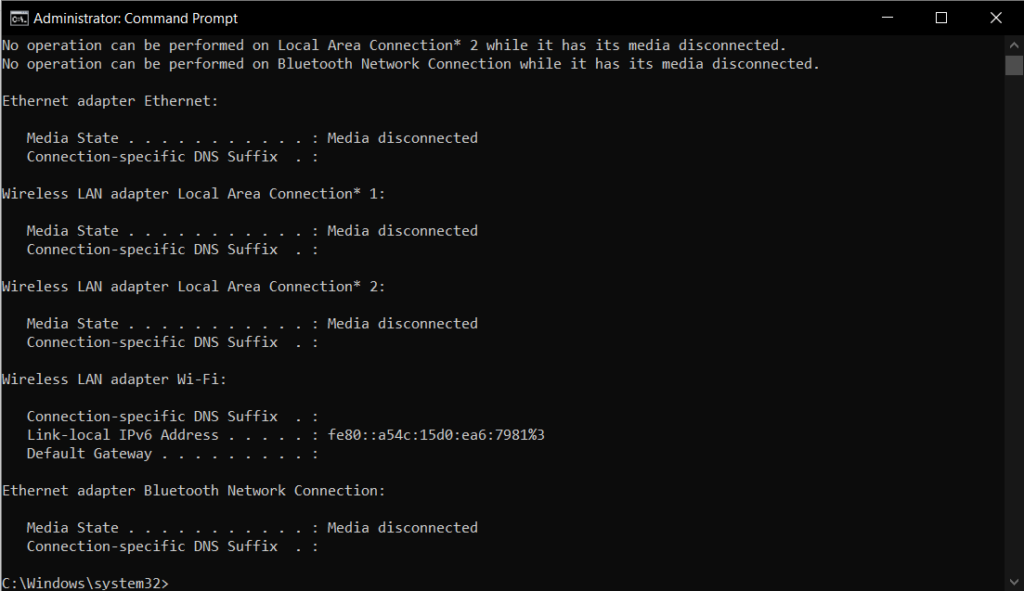
Create a new IP address –
- When you are done with releasing the existing IP address, allocate a new IP address to your system by typing the following command in the prompt window with administrative permissions and hit Enter:
Ipconfig/renew
12. Remove WLAN Profiles
At times, removing the WLAN profiles can resolve the ERR_NETWORK_CHANGED issue.
- Open up the Power user menu by pressing Windows Key + X.
- Select Command Prompt (Admin).
- Type the following command in the promp window:
netsh wlan delete profile name=* i=*
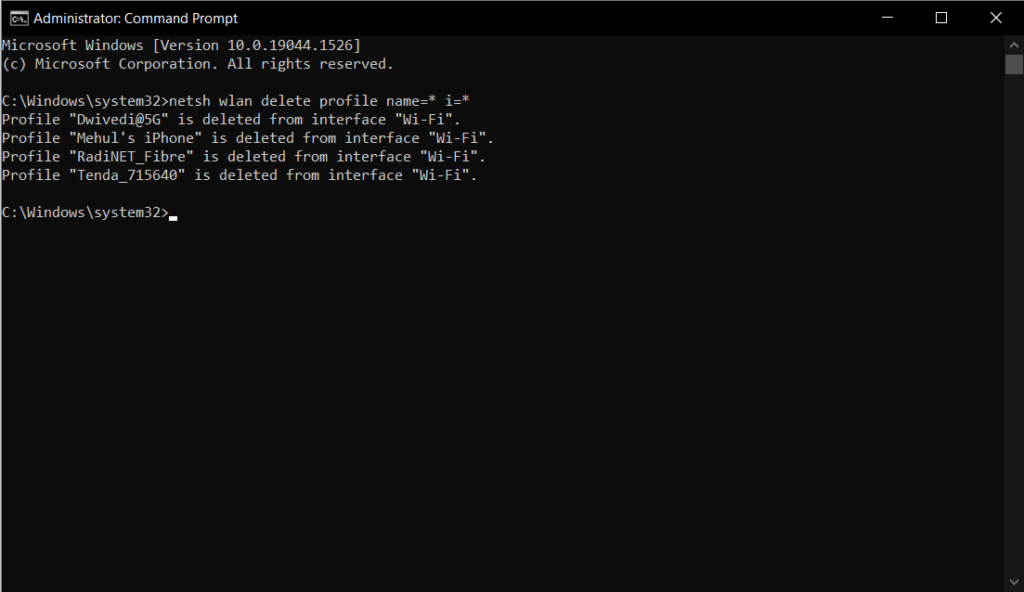
Your internet connection will be disconnected after it has been deleted from the list of WLAN profiles. To avoid this, try re-accessing the website and restarting the computer.
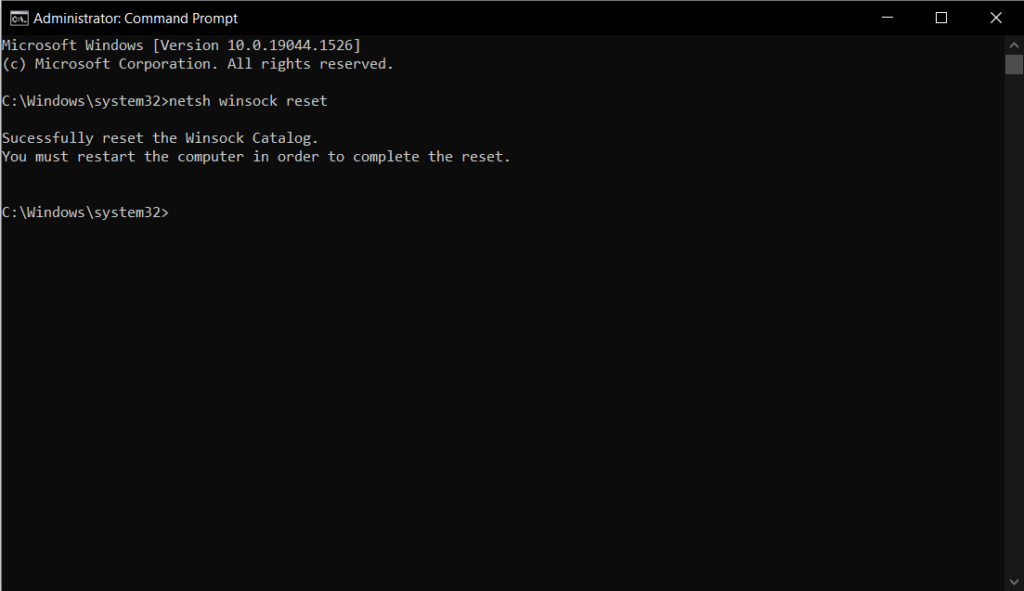
13. Winsock Reset
Winsock is used to specify the information exchanged between the network software and the TCP/IP network.
- Open up the Power user menu by pressing Windows Key + X.
- Select Command Prompt (Admin).
- Type the following command in the promp window:
netsh winsock reset
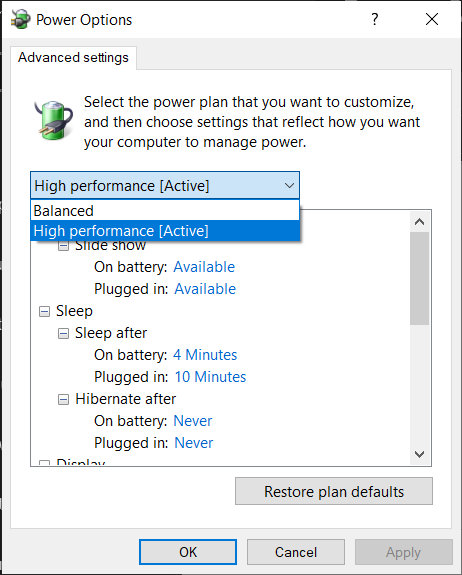
14. Disable the Power Save Mode
When the power saver mode is activated on Windows 10, the wireless adapter hardware gets shut down, which can cause network issues. Follow-up the following steps to overcome this:
- Go to Start menu and look up for Device Manager.
- Find the Properties by righ-clicking on your current network adapter.
- Disable the “Allow the computer to turn off this device to save power” option.
- Select OK and try refreshing your web browser.
15. Use Google DNS
DNS settings are essential components of your network connection to establish a secure network connection. Having a reliable DNS server can affect the performance of your network connection and could also result in timed-out connections critical to avoid having a slow down connection and may lead to ERR_NETWORK_CHANGED as well. If you encounter this issue, Try removing all the manual DNS servers from your PC.
16. Reach out to your Internet Service Provider
If none of the above methods works for you, it’s best to consult with your ISP for assistance. They can help you make some changes to your network as they can help by making some changes to their backend configuration.
How to fix err_network_changed Android/iOS
Here’s how you can easily hassle-free surf the internet on your Android/iOS by following up the methods:
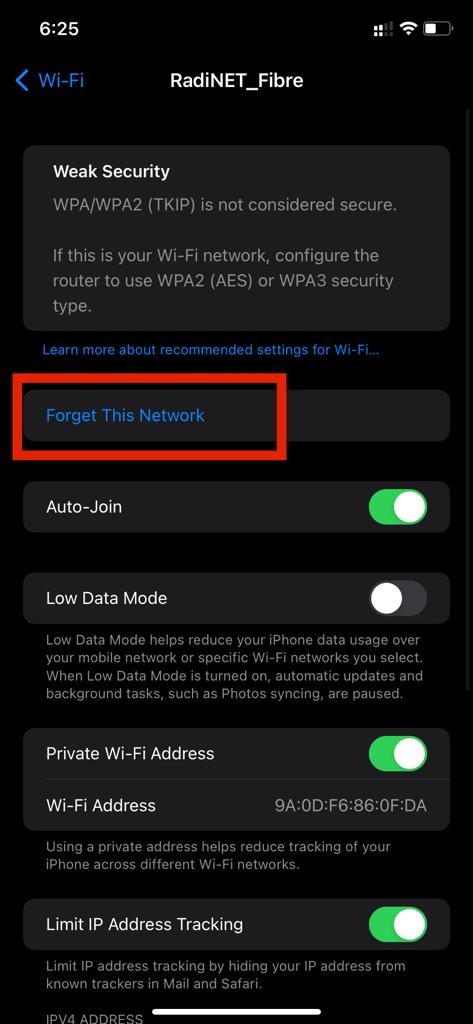
METHOD 1: Forget and Try Reconnecting your Wi-Fi
To fix this issue, remove the Wi-Fi network from your current device and reconnect it to the network. This will remove all the settings and instructions that were previously stored on it.
METHOD 2: Remove and Try Connecting the Wi-Fi Network
One of the instructions you save when connecting to a Wi-Fi network is to automatically connect to that network every time you turn on the device. This method is straightforward and can be done without entering the network’s password.
Quick-Fixes to ERR_NETWORK_CHANGED error on Ubuntu/Linux
It is a strange network issue called ERR_NETWORK_CHANGED with a system running on Ubuntu Linux systems. While using, the browser would always detect a network change on every reboot.
STEP 1: Open-up GRUB config log for modifications
- Go to Terminal.
- Type the following command to modify the GRUB config file in text editor (nano editor): sudo nano /etc/default/grub
- Now, you are supposed to use the arrow keys to navigate to the line containing GRUB_CMDLINE_LINUX and edit its value and make it look like as shown below: GRUB_CMDLINE_LINUX=”ipv6.disable=1″
- Press Ctrl+X to Save changes.
STEP 2: Keep grub up-to-dated
- Now that you’ve GRUB bootloader configured, you need to update grub by typing the following command: sudo update-grub
- When you will restart your system, it will automatically disable IPv6 for your networks.

FAQs Related to ERR_NETWORK_CHANGED
Why is my internet connection being interrupted?
Generally, it is because of configuration in VPN/Proxy setups. But there can be various reasons for the internet to be interrupted. Using a virtual private network (VPN) or proxy service is often a common practice nowadays. These services allow users to access restricted websites by changing their IP addresses. It could be the reason why this error occurs.
What can I do for a stable internet connection?
Consider your Internet Plan, Restart, and keep your router updated for a stable internet connection.
Do mac users also face this issue?
Yes.
Can Ethernet & Wi-Fi on the exact device cause ERR_NETWORK_CHANGED?
Sometimes, users may use both Wi-Fi and Ethernet simultaneously on their PC. To avoid this issue, it is best to select one network which is best for surfing the internet.
Conclusion
In this article, I have listed down the 16 easy ways to resolve the issue caused by the ERR_NETWORK_CHANGED error on your PCs, Android/iOS devices, and Ubuntu Linux systems.
I hope you find all the solutions mentioned in this article to fix ERR_NETWORK_CHANGED are helpful.